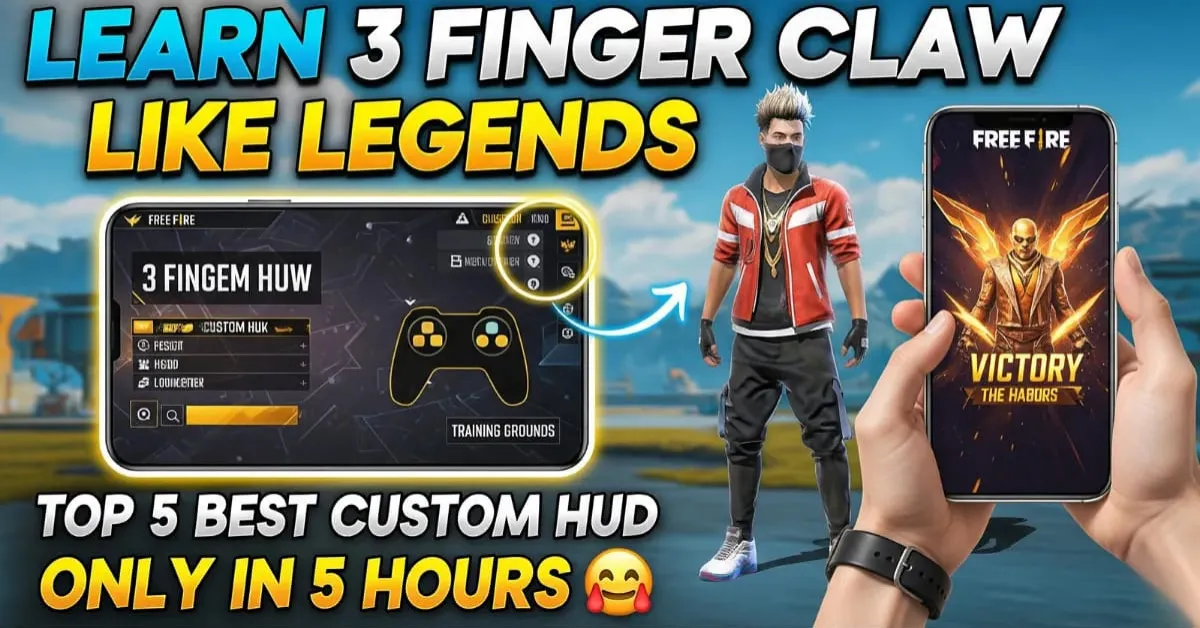
Free Fire Custom HUD 3 Finger: In the competitive world of Free Fire, mastering the controls is just as important as choosing the right character or weapon. One of the most talked-about and effective ways to gain an edge is by using the Free Fire Custom HUD 3 Finger layout. Whether you’re pushing ranks or dominating in aggressive gameplay, this control style can elevate your performance significantly.
🔧 What is Free Fire Custom HUD 3 Finger?
The Free Fire Custom HUD 3 Finger is a control setup where players use three fingers (typically two thumbs and one index finger) instead of the default two thumbs. This layout separates shooting, movement, and camera control across three fingers, providing faster reaction time, better aim, and efficient multitasking during combat.
Read this also:
Naruto Shippuden Special Gameplay
🎯 Why Use 3 Finger Controls in Free Fire?
Here’s why pro players and streamers recommend this setup:
- Quick Aim + Fire: Simultaneous movement and shooting.
- Precise Headshots: Better alignment with Free Fire 3 finger settings for headshots.
- Advanced Reflexes: Improve your clutch potential.
- Customizable for Style: Whether you’re a sniper or rusher, it’s flexible.
🧠 Understanding Free Fire 3 Finger Control Setup
Let’s break down the ideal Free Fire 3 finger control setup:
1. Left Thumb: Movement joystick
Used for character movement—side steps, crouch, jump.
2. Right Thumb: Aiming and view
Control the camera to aim, drag headshots, and move view.
3. Right Index Finger: Shoot, Scope, and Gloo wall
Crucial for instant firing, scope-in and grenade throw actions.
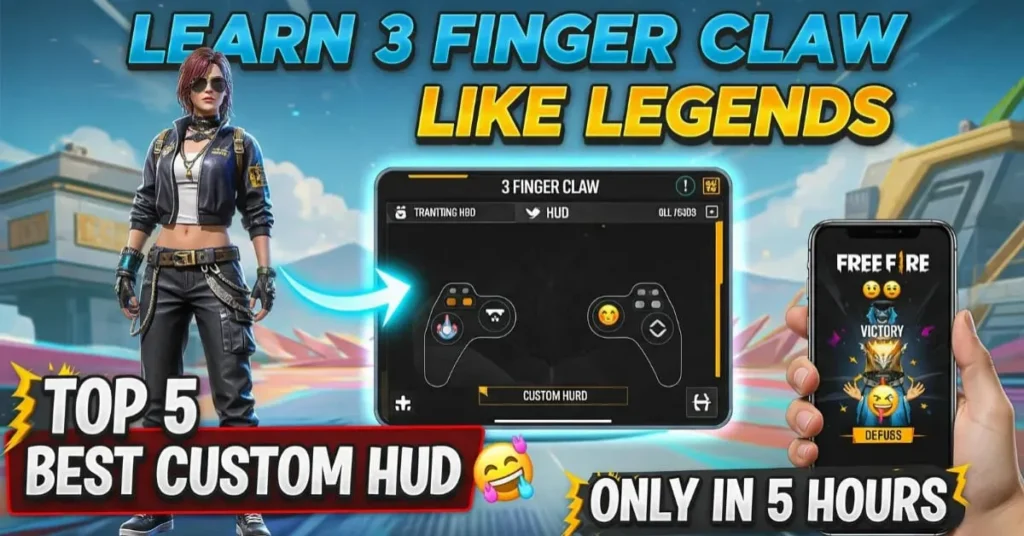
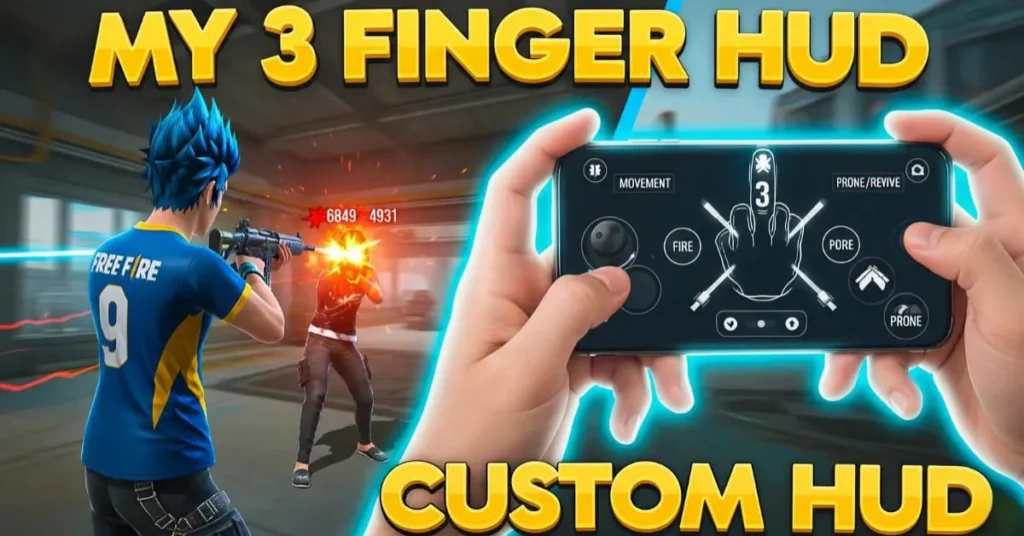
🧩 Best 3 Finger HUD Free Fire: Custom Button Placement
Here is the ideal Free Fire 3 finger HUD layout used by many competitive players:
🔲 Left Side:
- Joystick (Bottom Left)
- Sprint (Above joystick)
- Medkit (Near joystick)
🔳 Right Side:
- Fire Button (Top-right corner for index finger)
- Jump & Crouch (Middle-right for thumb)
- Gloo Wall & Scope (Upper middle-right)
- Grenade & Interact (Bottom-right)
✅ Custom HUD 3 Finger Free Fire Code:
For sharing layouts, Free Fire allows HUD codes. Players can import/export layouts using this.
Pro Tip: Always screenshot your current layout before making big changes.
⚙️ Free Fire 3 Finger Sensitivity Settings (2025)
The right sensitivity plays a huge role in headshot accuracy and smooth control.
| Sensitivity Setting | Recommended Value |
|---|---|
| General | 95–100 |
| Red Dot | 85–90 |
| 2x Scope | 75–85 |
| 4x Scope | 70–80 |
| Sniper Scope | 55–65 |
| Free Look | 75–80 |
🧠 Tip: Test these values in training mode. Adjust based on device size & screen smoothness.
💡 Free Fire 3 Finger Tips and Tricks
Here are some battle-tested tricks for using the 3 finger layout efficiently:
🔥 1. Claw Grip
Hold your phone like a gamepad with your index finger free to tap fire or scope.
🔥 2. Customize Gloo Wall
Place the Gloo button at a reachable distance for your index finger for faster cover.
🔥 3. Training Ground Practice
Spend 30 mins daily practicing drag headshots and Gloo wall placements.
🔥 4. HUD Button Transparency
Reduce button opacity for better visibility and screen clarity.
🔥 5. Use Practice Matches
Jump into Clash Squad or CS Ranked to adapt real-time finger movement speed.
👑 Free Fire 3 Finger HUD for Rank Push
If you’re into rank pushing, this layout helps with:
- Quick Defensive Moves using Gloo.
- Peek & Fire technique with proper aim.
- Switching weapons without blocking your view.
Best HUD for 3 finger Free Fire rank push includes larger Fire and Gloo buttons, faster switch placement, and minimal screen clutter.
💣 Free Fire 3 Finger HUD for Aggressive Players
Aggressive players like rushers need faster reflexes and smoother movement.
Key Features for Aggressive HUD:
- Fire Button (larger size for instant tap)
- Gloo & Jump close to each other
- Crouch for jump+crouch combo in close fights
- Clear screen for free vision
💪 Use Free Fire 3 finger pro settings to handle 1v3 or 1v4 rush fights.
🥇 Free Fire Top 3 Finger HUD (Used by Pro Players)
Many Free Fire YouTubers and esports pros prefer a version of the following:
- Index finger: Fire + Gloo
- Right Thumb: Aim + Scope
- Left Thumb: Movement
- Larger HUD buttons, spaced properly
- Quick reload & emote buttons removed to reduce clutter
📈 Free Fire Advanced 3 Finger Settings
Once you’re comfortable, start experimenting with:
- Gyroscope (if your device supports it)
- Auto pickup settings
- HUD Layout Codes to try global player setups
You can also try 3 finger vs 4 finger HUD Free Fire comparisons to find your perfect control scheme.
🆚 3 Finger vs 4 Finger HUD Free Fire
| Feature | 3 Finger HUD | 4 Finger HUD |
|---|---|---|
| Learning Curve | Moderate | Hard |
| Control | Balanced | Very Precise |
| Flexibility | High | Very High |
| Device Requirement | Medium-Large | Tablet or Large Phone |
| Common Usage | Esports, Ranked | Esports, Tournaments |
While 4-finger offers more control, 3-finger HUD is a perfect balance of simplicity and performance.
📱 Free Fire Custom 3 Finger Button Setup Guide
How to Set It Up:
- Open Free Fire → Settings → Controls → Custom HUD.
- Move Fire Button to top-right.
- Place Gloo Wall and Scope for Index finger.
- Resize buttons for comfort.
- Adjust transparency for visibility.
- Save and test in Training Grounds.
- Free Fire Redeem Code 13 Nov 2025: Get Exclusive Rewards Today!

- Bring The Noise Event in Free Fire Everything You Need to Know!

- FFWS Ring Event in Free Fire: Complete Guide, Rewards, Date, and More!

- Free Fire Redeem Code 12 Nov 2025 – Your Guide to Claiming Free Rewards

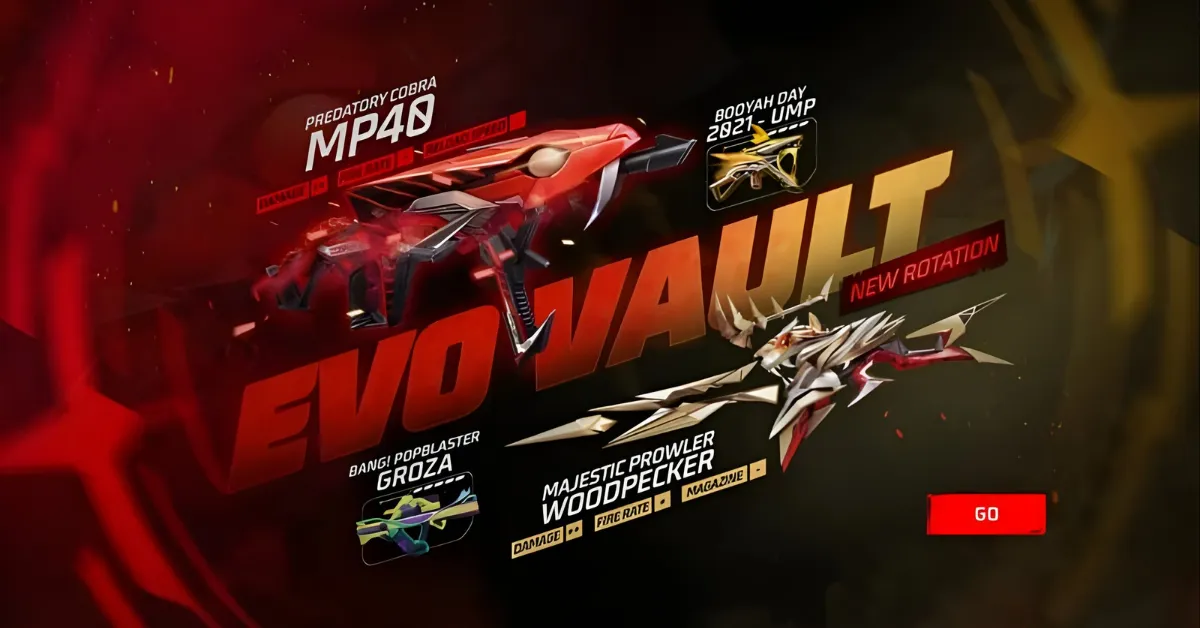
- Cobra MP40 Is Returning in Evo Vault Event Free Fire – Full Details, Rewards, Date & Guide

❓ FAQs on Free Fire Custom HUD 3 Finger
What is the benefit of 3 finger HUD in Free Fire?
It improves aim, fire speed, and overall multitasking by assigning controls to three fingers.
Is 3 finger better than 2 finger setup in Free Fire?
Yes, 3 finger provides more speed and flexibility compared to the basic 2 finger setup.
How long does it take to master 3 finger layout?
On average, 7–14 days of regular training matches.
Can we use 3 finger HUD in tournaments?
Absolutely. Most pro players use it in esports and tournament play.
How to download a Free Fire 3 finger HUD code?
You can import HUD layouts by going to Settings → Custom HUD → Tap “Upload/Import HUD Code”.
🔚 Conclusion
Mastering the Free Fire Custom HUD 3 Finger layout is a game-changer. Whether you aim to improve headshot accuracy, climb higher ranks, or become an aggressive rusher, this setup offers the balance and control you need. Practice consistently, refine your settings, and don’t be afraid to customize it for your unique gameplay style.
By using the tips, HUD layout suggestions, and sensitivity settings from this guide, you’ll be on your way to becoming a Free Fire 3 finger pro.


Leave a Reply